
I am not ready for the summer to end, but I just got this Winer Wonderland set from Pretty Pink Posh and really wanted to play!The trees in the background are in the Whispering Pines set from Newton's Nook. They are more of a shadow stamp but I inked it and stamped it on a plaid background and then stamped that plaid background with the inked image on card stock to get that look.

I really love the idea of the new Lawn Fawn Shadow Box Die. Unfortunately, I am not a patient person and the die is on Pre-order!!!! UGH!!! So I decided to make a copycat recipe until I can order it and play. I am sure there are others that may not be patient either, so I am going to share my copy cat!

 |
| You need to cut and score two pieces of card stock . Measurements and score lines are on my picture above. I used SU real Red |
 |
| To make the opening in the shadowbox card, I used the Nestibilities Classic Large Rectangles S4-132. I used the third rectangle out of the set. It measures approximately 2 3/4"x 2 1/8". You will only center and cut it out of ONE of your pieces of cardstock. |
 |
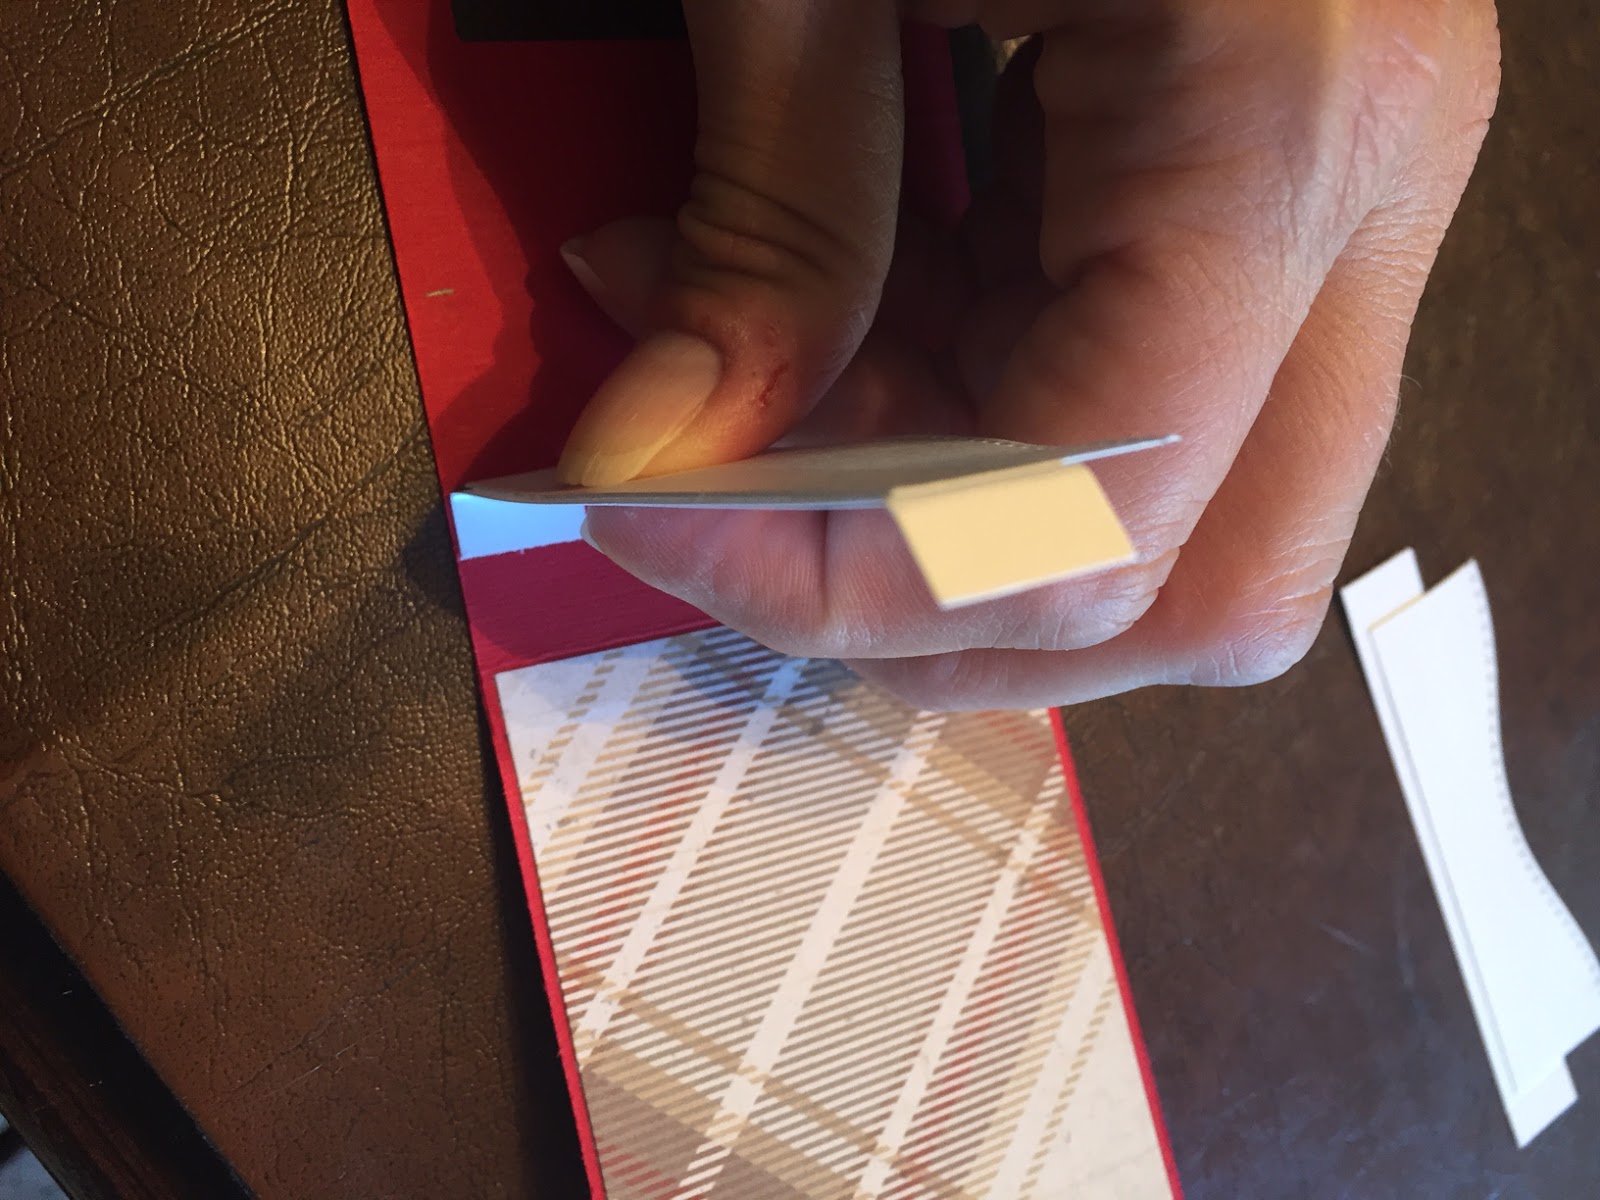
| Then I cut a piece of designer paper to what will be the back of the box. I didn't glue it on because I am going to glue the two red pieces together then add the background paper to cover the 1/4" overlap. |
 |
| You need to cut out two of these 3 3/4" pieces of card stock and score them at 1/4" on both sides. They will be what I used to glue the hills to. |
 |
| This is the tricky part....I made these two pieces ONLY to mark the inside where I am going to glue the 3 3/4" pieces to so they are equal on both sides. The sides of the box are 2 1/8" so the marks are not in exact thirds. If you set it up the way I have it in this picture, you should be good to go. If you notice, the long arrow points to the 1/4" score line on both red pieces BUT the mark lines are reversed. |
 |
| Next I glued my hills to the 3 3/4" pieces. I also have glued my two red pieces together then covered the back with the background paper. I didn't take a picture of that part. Sorry! |
 |
| Next I glued the white Pieces on to the red piece with the fold right on those pencil marks I made. |

You will then need to glue the folds on the other side to the white pieces on the marks.
I am new to doing step by step instructions, so I did not take a picture of that either so this is what it would look like using my original sample...I will have to come back and edit this!

Finally, I added my stamped and colored images and my glitter. I glued the front of the box closed and added the evergreens, twine bow and mini bells. Then finished it off with my Merry Christmas sentiment. I hope you like my card and my pattern for this box. Please give me credit for the pattern if you use it and post your card. Thank you!


Copics:
Polar Bear: C0, C1, C2, E01
Penguin: N0, N1, N2, N7, N9, YR15, YR18
Stamp Sets: Pretty Pink Posh Winter Wonderland, Newton's Nook Whispering Pines, Memory Box Snow Globe Wishes (for the Merry Christmas)
Dies: Pretty Pink Posh Winter Wonderland dies, MFT stitched Snowdrifts, Nestabilities classic large rectangles S4-132, Martha Stewart autumn branch punch
Card Stock and Designer Paper: SU Real Red, SU Whisper White, CTMH Olive, Kraft, Photo Paper Mad Plaid.