** Affiliate links are used throughout this post at no additional cost to you. This allows me to kee

** Affiliate links are used throughout my blog posts and on the right side of my blog at no additional cost to you. This allows me to keep bringing you content. Thank you all for your support! **

Wednesday, August 13, 2014

Poppy Birthday

Hello! I just purchased the Spectrum Noir Pencils. They are a wax pencil like the Prisma color pencils and you can use Gamsol to blend them too. I really love my Prisma color pencils and would not have purchased another set other than I had read a few reviews and people thought the Spectrum Noir colors were more vibrant. So I decided....if the colors are different from what I had, why not try them. 

I have to say that I do like them a lot. A nice thing about the pencils that differs from Prisma is that when you buy a set of them (there are 5 sets) the pencil colors do NOT repeat. So you can buy each set and you will have all different colors. Where as with the Prisma sets, some colors repeat between them.  

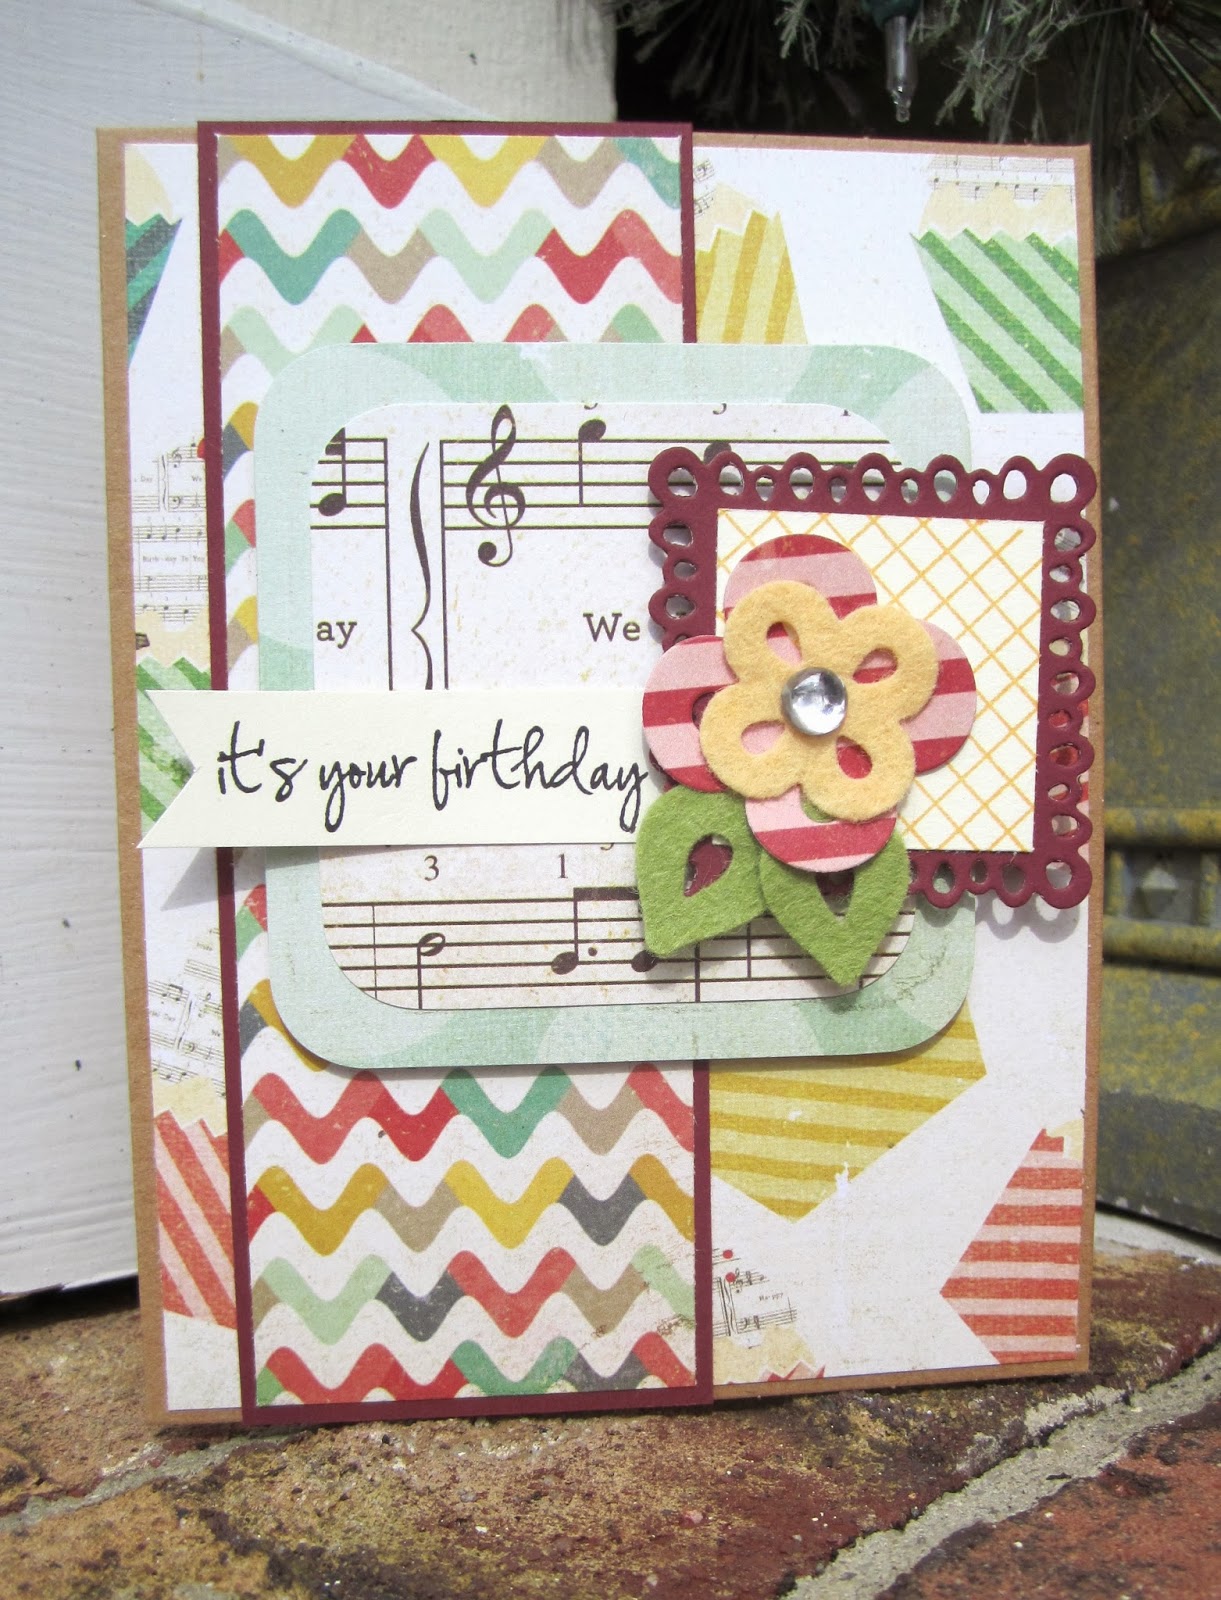
So tonight, my son and I tried them out. I used an old PSX poppies stamp and my tuxedo black ink. Colored with the Spectrum Noir Essentials pencil set and blended with Gamsol. Then, after coloring it...I had to find paper in my old paper stash that would match. So I think this paper came from a BIG MY MINDS EYE Pad collection from FOREVER ago. I am so excited about how the card came out. Plus it was fun coloring with my son. He colored his poppies in reds. 


I hope that you like it!

Saturday, May 10, 2014

Happy Mother's Day!

Just wanted to wish all of the Moms out there a wonderful day. I was blessed to have the BEST mom  in the world (I know you all think that your mom is the best, but mine actually IS the best :-)). And the BEST mother-in-law in the whole world. I am extremely grateful for them both.

I hope that you are all able to look back at your day and be thankful for the blessings that you have no matter how big or small they may be. The things that we take for granted someone else is praying for.

Here is my Mother's Day card...


{Nothing fancy, just to the point}


Card Maker Suggestion of the day..... Paper cutting

Hello. I am not one to post tips and suggestions on my blog, but I have one today that I really kind of like and thought would be helpful to all the paper hoarders out there that are card makers. This wouldn't work for Scrapbookers. 

I am a sucker for the 12x12 pads. Especially when ACMoore and Michaels have them for 5$-7$. I have been known to buy them for 10$ too. And as many of you know.....how much of that pad are you going to use? When I sat down to try to use up a 12x12 pad, I was half way through a 36 page pad and had over 60 cards. (this was at christmas time and I challenged myself to use the whole pad...I never finished it) 

Anyway, back to the suggestion....ACMoore had a bunch of 12 x 12 American Crafts pads on sale for $6.88 and they had a coupon for 25% off even sale items. ($5.50 with tax)

{Stack 1}

{Stack 2}


So I bought a few of the pads and took them over to STAPLES. As you can see in the second stack, I have two Stampin' Up! 8 1/2 x 11 packs too. These were the white and natural confetti and I never used them (had them for years) 

Now to the GOOD part...Staples has this neat machine that cuts paper. I am sure other office supply stores have it too, but what I did was I asked them to cut each 12x12 pad in 4" intervals (giving me 3 pads measuring 12" x 4" each) I asked them to cut the SU paper packs in half giving me two stacks of 5 1/2" x 8 1/2" paper. Each cut was 2$ BUT they can put a few pads on top of each other per cut and if you have a rewards card, it is less. So at the end of the day, 11 of the 12 x 12 pads and two packs of 8 1/2x 11 cost me $16.88 to cut to the sizes I asked for. I would have spent that in cutting blades if I cut all of that paper (Not to mention the TIME that it would take me).

 The best part is, now I have 3 pads that I can swap with friends if they did the same thing, or just give as a gift to a friend when I go to stamp at their home. It is easier to take more paper on an all day crop because you only need 1 of those pads to make so many cards. So this is what I had when they were done cutting them:
THAT'S A LOT OF PAPER!!!!!!  JUST SAYIN'....

I hope that someone will like my post out there and it will help people share their paper so we can cut down on all of that paper in our craft rooms...kitchens...living rooms...kids bedrooms...he he he.   Who am I kidding, I am a paper addict. Nothing will help me cut down.

Friday, May 9, 2014

Bar Mitzvah Step Card

My son is going to another Bar Mitzvah and I wanted to try something different from the last Bar Mitzvah card that I made. I really like the way this came out. I used the Tranquility Trilogy and die set from Papertrey Ink on Gold card stock and embossed it with Gold embossing powder. I liked how Nichole Heady used the triangles to make a Star of David and I used that idea for this card.  The DSP that I used was from Shalomscrapper.com {but I picked it up at my LSS}.

I hope that you like it!


Skullies for Your Birthday

A while back I found this really pretty skull stamp....I know {pretty and skull} in the same sentence???? Let me explain... My niece really likes skulls and roses. When I found this particular stamp, I felt Okay as an aunt sending a birthday card with a skull on it to my Niece. The set came with another skull with a Koi on it,  a small butterfly and small lamp that could go into the eyes if you wanted to do that. 

So I pulled out my Prima Something Blue paper (I love the english roses on that paper),  my Skullies in the Closet by Susans Custom Arts, and my Unity stamp co. Empowered Words Stamp set and set out to work. I used Copics R01, R02, R05, and R08 for the roses...G40, G43 and G46 for the leaves and C0-C5 for the eyes, nose, teeth and shadow. 

The inside the card it reads:
always believe something wonderful is about to happen Happy Birthday {that stamp is from unity}

Hope you like it!!! (I hope she likes it!)

Monday, March 10, 2014

Mojo Monday 336 Guide Me Through the Storm

I had such a busy day today and I really just wanted to play for a little bit. So I looked at the Mojo Monday Sketch for the week found here: Mojo Monday 336. I decided that I wanted to use the Verve Strong Anchor Set. It has been waiting to be inked and it just seemed to fit the sketch. I decided to use the Authentique: Fresh 6x6 pad for my designer paper and I have the dies that go with the Strong Anchor set. 
{On a side note, I used an eyelet to attach the anchor. I don't think that I have used an eyelet in almost 5 years!} 

This is a close up of the die cut center of the rectangle panel on the card. I popped up the rectangle panel and popped up the center circle. I also used spellbinders circles to make the white circle frame around the center and ran it through the cuttlebug with a Sizzix embossing folder. Hope you like it!

Wednesday, March 5, 2014

TLC471 Embossed Vellum

Good Morning! The card I have for you  this morning is for the Splitcoast Stampers Try a New Technique Challenge TLC471. The challenge was to either heat emboss or dry emboss on vellum. When it comes to vellum, that is not a challenge, trying to adhere it so you cannot see the adhesive through it is always my challenge! Vellum always make a card look so pretty too...

So what I decided to do was to die cut  a window through the card and other layers and layer it between two of the sheets of card stock so you do not see the tape. I heat embossed the Verve stamp 'Happy Birthday' with SU Early Espresso embossing powder. I also dry embossed the vellum layer of the the butterfly.

I used Taylored Expressions Label Stacklets 2 Die set to cut out the window in the card and to make the frame around the window.


I embossed butterfly the butterfly with a cuttlebug folder {I don't remember the name of it, but it looks like damask}


The inside showing the vellum through the card.
I used BoBunny Primrose DSP. It is so soft and pretty (and I LOVE butterflies!!!!!)

Tuesday, March 4, 2014

Twofer Tuesday! Mojo Monday 335

I needed to make two cards today. One for my BIL and one for my niece as they both share the same birthday. I wrote in my earlier post that I tried to follow the Verve Mojo Monday 335 challenge and I wasn't able to follow the layout (but I finished the card). This card does follow the layout for the challenge {YEAY} so here it is:

I used Verve Take Note and Making a statement stamp sets and The Loopy flowers die set. The DSP is *Party Day* from Crate Paper.
Here is the link to the challenge:


Verve Remember This

I started this card out by trying to follow the Verve Mojo Monday 335 challenge. I was making it for my Brother-in-Law so I had to modify it to be masculine without the flower. I thought banners would work, but when I was trying to shuffle around the layout, I couldn't get it to work with the challenge. In the end, this is what I came up with…I like it! 

I used Verve stamps Remember This set and the banner bundle die set. The DSP is from K & Company KP Eclectic. { I also used Papertrey Ink 'Make a Wish' set for the make a wish sentiment}

Hope you like it!

Thursday, February 27, 2014

Today is a Twofer! Splitcoast Stampers Challenge SC477

My daughter is home sick today so instead of cleaning up the house….I decided to stamp. This morning I played along with the MFTWSC165 challenge. That was a lot of fun. Then I decided to play along with the Splitcoast Stampers challenge SC477. I really wanted to make a card for someone that just had a baby and this challenge was a good inspiration for where I should start. 

{This is a side view of the flower}


The Supplies that I used are: Verve Loopy Bloom Die Set, Taylored Expressions Label Stacklets 2, Papertrey Ink Notched Star Banner Die set, and the Papertrey Ink Inside & Out Baby Stamp Set. The DSP I used is from the Echo Park Sweet Girl Collection. I hope you like my card!

MFTWSC165 Heat Embossing With dry embossing folders

I have had enough of the snow and cold….so my cards have been on the sunny side of things lately. I have seen the dry embossing folders used for letter pressing and I was curious to see if it would work with embossing powder. I have not seen this done anywhere to see if it would work so I decided to give it a try. 

My inspiration for my card was from My Favorite Things MFTWSC165 Challenge from yesterday. 

I am not really sure how much "interpretation" of the sketch you are allowed to do before it does not follow the rules of the challenge, but I tried to stay close to the original sketch.
Here is my finished card:


Here is an angle so you can see the shiny from the embossing powder:
Can you see the clouds have shine to them? I am really not good at taking pictures.

So this is what I did:


 I grabbed my cloud embossing folder, clear embossing powder, watercolor paper, and embossing buddy. Rubbed the embossing buddy on the paper.


 Then I carefully rubbed the versa mark on top of the raised clouds, making sure they were completely covered. After I was done, I tried to wipe off any Versamark that might have gotten onto the folder. (I tried not to let the versa mark get onto the folder because I didn't want the chance of the embossing powder going anywhere unwanted.)


Then I put the paper in the folder and ran it through my Cuttlebug as you would normally do with an embossing folder. I poured embossing powder on the whole paper and dumped off the excess. There was a tiny bit that I used my finger to rub off. This picture shows what it looked like after I heat embossed the clouds. I REALLY like how it turned out!

Next, I chose to watercolor the background, so I pulled out those Stampin' Up! watercolor wonder crayons again….


I used a damp paper towel to wipe out the clouds when I was done so they would look nice and white. So that was it! Easy Peasy! After it dried, I constructed the rest of my card using dies from MFT {the circle and the banner}, the grass die was from AMUSE and the ray on the sun was from Taylored Expressions. I used the saying in MFT's ALM The Rainbow Will Come set. I hope you like it! 


Monday, February 24, 2014

Papertrey Ink MIM #153 Challenge

Papertrey ink's Make it Monday was a real fun challenge today. I broke out my Stampin' up! Watercolor Wonder crayons that I have not used in like…..EVER!  It was one of those things I had to have.  I am happy that I had a chance to use them. The papertrey ink challenge is to have an embossed sentiment on a watercolored background. 
I scribbled the watercolor crayons on the craft mat so I could paint over the embossed image.
I stamped the sentiment and clear embossed it on the paper.


Then I painted over the sentiment. with the Watercolor wonder crayons.


I used the PTI Sunrise impression plate for the background layer.


Then I finished it up with die cut felt clouds, a die cut sun with a button tied with waxy flax and popped it up with pop dots. I really love the PTI set Hello Sunshine. The sentiment that I used is from that set. This is my finished card I hope you like it!


These are just a couple other angles of my card. Have a great week!

Friday, February 21, 2014

MFTWSC164 Get Sketchy Wednesday

The sketch from MFT this week could not have come at a better time for me! 

I was just asked to organize a Thank You luncheon at my church for 60-70 volunteers and I wanted to do something extra for them. 
I recently went through my craft room to purge and I found many papers that I couldn't part with but needed to find something for them to be used for. This sketch was just the thing. It was an easy sketch that could be dressed up or left as is and I took the 'as is' approach for a quick card to mass produce {with Love}.  

I used the MFT Fishtail Flag STAX die and MFT Well Worn Greetings Die. I had this CTMH paper from a few years ago and I had a lot of it….Then I finished it off with a stamp from PTI's Ruby Rose set.
I have everything cut for 70 cards. after I assemble them all, I am going to see if I have enough bling in my stash to add 3 gems on each card. Not sure if I will have the energy for that though! Hope you like my card.


Thursday, February 20, 2014

Celebrar card by my son! A spanish project

My 13yr old son had a project in Spanish and part of that was to make a card. I was pretty excited about that project! I didn't have to buy ANYTHING!!!!!! I am sure I will never be able to say that about a project again.

Anyway, I {just happened to} have Stampin! Up's Palabras Maravillosas stamp set which is 4 spanish sayings for: friendship, love, thank you, and celebrate. I had seen somewhere a creative idea on rolling paper to make a candle, so I showed him that idea and for the flame, I gave him the EK success punch that has 3 ornaments on it and he punched out the one that looked like a flame in orange, then used a stamp for a petal of a flower to accent the center of the flame. 
 

I was so excited to give him the old CTMH  COCOA CAFE paper that I have had in my stash 4-EVER. All in all, I think he did a nice job aside from the fact that he thinks 2-sided tape glues everything. I had to explain that sometimes you need glue. 

I hope you like it! I was pretty impressed with what he came up with.

Tuesday, February 18, 2014

PTI Make it monday #152

Hello! Today I thought I would try this week's Papertrey Ink Make it Monday #152. To play along you have to layer Pigment ink with Dye ink and use a Papertrey Ink stamp set. I used cream pigment ink with cream CS. Then I used the following PTI inks: Aqua Mist, Autumn Rose, Scarlet Jewel, Summer Sunrise, Ripe Avacado, and Spring Moss. The PTI stamp sets that I used were: Delightful Dahlia, Delightful Dahlia Additions, Beautiful Butterflies, Background Basics: Text Style, and Polka Dot Basics II.

I really cannot take a picture of my cards to save my life, but this is the best I could get after many tries:

The idea is to have the pigment ink to come through the dye ink. I used the text style background near the bottom by the flowers (you can kind of see it if you look close) and the polka dots near the top by the butterflies. I didn't line my flowers up very well. I went backwards and did the outline last instead of first. Whoops! I really wish the colors in my picture came out better. The card looks much better in real life.


This is a close up of the butterfly with the polka dots showing. I thought that this was a real fun card to make and a neat technique! 

Here is the link to see how the pros did it…..


Sunday, February 16, 2014

Cards using CTMH Lollydoodle Paper

I made this set of 20 cards using the paper from the CTMH Lollydoodle card workshop and the scrapbook workshop. I have to be honest. I really am not crazy about this paper. I really wanted the stamps that came with the 2 workshops for other purposes and had the paper left over. I didn't want to put it on my shelf and forget about it, so I made myself use it. I am actually pretty happy with the results. 


This card uses a sentiment from the CTMH Laughing Lola card workshop.

This card uses a sentiment from MFT Pretty Poppies.
This card uses a sentiment from UNITY …Everything Wonderful. 

This card uses a sentiment from MFT Vertical greetings.
I hope that you like them. I really only used a few sheets of DSP from the two packs so I will have to find something else to do with the rest!  

Friday, February 14, 2014

Valentine for my Husband

The past year I have been trying to organize all of my craft items. I have gone through and pretty much finished getting "like" things together. I am now in the process of organizing my stamps by company/type. While I was organizing, I found a few things that I wanted to use for my husband's valentine card. These were embellishments that have been sitting around for a while waiting patiently to be put to use. I used the red flower, script DSP chipboard letters, and red 7 gypsies metal index tabs (which I do not actually remember purchasing).

I used the new CTMH stamp set from the Lollydoodle card making workshop set for the inside.  I die cut the heart on the cream card stock (the base card), then on the brown CS layer. I die cut the lace heart in red and attached that to the underside of the top brown CS. Then I used pop dots to raise the brown layer. I glued the rose on the heart, and the twine bow to the "v" so it wouldn't stick to the inside of the card.

I hope you like it!


I did rub the edges of the brown card stock with ink and stamped the background on the cream card stock. 


I really liked this stamp from the Lollydoodle stamp set in the card workshop. I wish I made this card earlier that 3:30 on valentine's day soI could have put more time into it. I probably would have stamped the "You Are" and "love of my Life" in red and left the rest in black. In my head, the card looked a lot different than it came out on paper. I hope my hubby likes it. Thank you for looking!! Happy Valentine's Day!