
Hi there! I would like to share with you how I made this card by foiling the stamped images on the background. I love the music theme in the Hedgehog Hollow May subscription box! So many beautiful images and sentiments. It was so hard to decide which to use first. I really love the Lapis Watercolor Deco foil and wanted to use it on this card but everything I used for this card was a stamp so I was not sure how to incorporate the foil. I looked into how to go about stamping with foil and this is what I came up with from what I found. I was really happy with the results. I do have a video at the end to show the process of making this card.

I started out by getting out my Deco Foil Transfer Gel Duo, a makeup blender and a small bin with soapy water in it. Then, I lined up all of the instrument stamps on a block and I began dabbing the transfer gel over my stamps using the makeup blender.

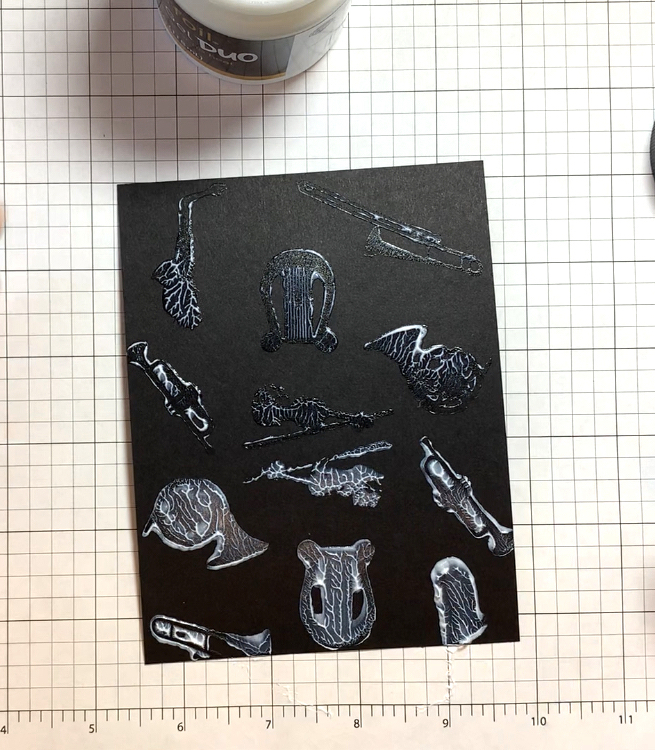
Once I had the gel on the stamps, I stamped it down on a piece of Eclipse Black cardstock. I was careful to lift it straight up so the images didn't smear and held down the cardstock as it is a little sticky when removing the stamps. This is not going to show all of the detail once foiled and will look a little distress when I am done, but the end result was exactly what I wanted for this card.

Once I finished stamping the images, I immediately placed the block with stamps into the bin with soapy water. I did not want the gel to dry on my stamps or it would have ruined them. I placed my panel to the side for about an hour to wait for the gel to dry. It will be clear instead of white when it is dry. While I waited, I cleaned my stamps by rubbing a little dawn soap and water over the stamps on the block with a toothbrush. Then I rinsed them and checked to make sure they did not have any stickiness from the gel left on them.
Next, I embossed the sentiment "Music feeds the soul" on Black Eclipse cardstock with gold embossing powder and Color Hive Clear embossing ink. I trimmed the sentiment in half because I plan to split it up on the card. Then, using my Misti stamp tool, I stamped the big image from the Chin up Buttercup set on Eclipse Black cardstock with Color Hive Clear embossing ink. I used my Perfect First Impression Smoosher Tool to help get a better image and use less pressure while stamping. Next, I brushed Neptune Kaleidoscope powder over the image using the Rose Gold Dual Tip Powder Brush. I cleaned off the excess with the Maker forte Rainbow Powder Polish & Clean Up Brush and set it with some hairspray so the powder wouldn't rub off.

Once my transfer gel was dry, I could foil it. I took a piece of Lapis Watercolor Deco Foil and placed it over the transfer gel shiny side up and dull side against the gel. Next, I ran it through my Minc machine that was warming up on number 3.

When I was done running it through my Minc, I carefully peeled the foil back to see if I needed to run it through again. It is easier to line the foil back up if it is still attached.


Now it is time to assemble the card. I trimmed down my panel to 4" x 5 1/4" and glued it to my Eclipse Black card base.

I layered the music clef panel to a piece of gold cardstock and added the sentiment that I had cut in half to either side of the clef. Finally, I put foam tape on the back and added it to my card base.

Thank you so much for stopping by! I hope you enjoyed my tutorial! If you want to watch me make the card with a few extra little tips, you can watch my quick video!
Also.....
Maker forte is having a really awesome Summer Craft Camp That runs for 7 online sessions! The point of it is to use your craft supplies that you just HAD to have but never used and learn more ways to use them! You can find out more information by clicking either of these images. It is going to be a great time. You will craft for an hour and then you get a 30 minute Q&A session about the topic for that day. There will be $1000 worth of prizes too! Check it out! {This is an affiliated link, thank you for your support!}


No comments:
Post a Comment